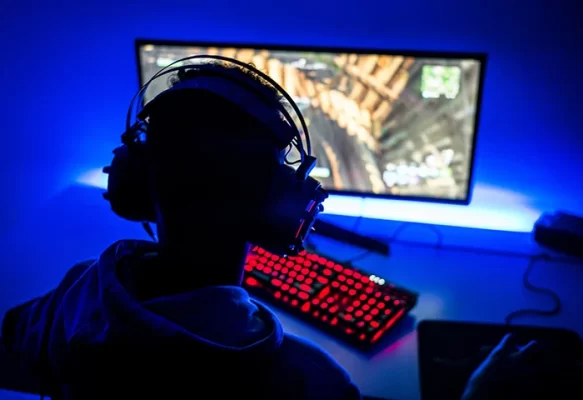
Whether you’ve built (or bought) a brand new gaming PC or you’re looking to spruce up an older machine, there’s nothing more satisfying than totally optimising your computer for gaming. There are always small changes you can make that will improve things incrementally, but the fact is that optimising a PC for gaming is a holistic process that takes into account every aspect of both the hardware and the software. So, whether you want to hop onto web browser games for some casual fun or you’re looking to run modern AAA games at maximum settings, here’s how to optimise your PC for gaming.
Use Windows’ gaming setting
There’s actually a built-in setting on Windows 11 that allows you to optimise your PC for gaming. To find it, just hit the Start button from your desktop and head to Settings. From there, click Gaming (it’s above Accessibility and below Time & Language) and find the Game Mode setting. Turn that on, and hey presto – your PC will now organise system resources effectively when it detects a game running, meaning you’ll have more juice available to power your game. This could give you those few extra precious frames per second you need to supercharge your gaming experience.
Switch off Windows animations
We know that if you’ve just bought a new gaming PC, the last thing you want to do is make Windows look less swish, but the fact is that Windows’ animations can actually be pretty detrimental to performance. With that in mind, turning them off is a good way to optimise your machine for gaming. Head to Settings again, then within the search bar, type “Animations”. From there, you’ll be able to turn off animation effects, as well as switch off transparency effects and change whether Windows shows scrollbars or not. Try each toggle and see if it has an effect on your gaming experience!
Keep your graphics drivers updated
Many people neglect to keep their graphics card’s drivers updated, but this can actually be the difference between a game running well and a game running horribly. Drivers are the way that graphics card manufacturers keep up to date with the latest games, and they can often contain information that tells your card how to run a particular game to squeeze every last drop of power it can from the hardware. If you’ve got an Nvidia card, then the Geforce Experience app should tell you when new drivers are available. AMD card users should download the AMD Software package.

Overclock your graphics card
Overclocking your graphics card is a pretty easy process, but it’s one that can actually improve your gaming performance significantly. The most important rule to remember when you’re overclocking is not to overdo it; cranking up your GPU clock too much can result in overheating, and although most modern cards have built-in protection to stop them doing too much damage if this happens, it’s still not a good situation. Download a program like MSI Afterburner and turn up your GPU clock incrementally; you should notice a difference even at 5-10% increased clock speed.
Turn off unnecessary startup apps
Lots of Windows apps set themselves up to start automatically with Windows when you install them, whether you want them to or not. Check every app that starts up with your PC and see whether you definitely want it to be included as part of the startup process. Streamlining startup can be a great way to boost your PC’s performance; when it has fewer programs to boot up, it can focus on the ones that matter, freeing up memory and CPU capacity for the games and apps you want to run. Some apps can be surprisingly demanding on startup, too, so it’s worth checking your startup apps periodically.
Switch on hardware acceleration
Hardware acceleration is a process by which Windows uses your GPU in order to perform better (it’s more complicated than that, but we don’t need to get into the weeds here). To switch it on, just head to Settings and type “Graphics” into the search bar. From there, click “Change default graphics settings”. You should see an option marked “Hardware-accelerated GPU scheduling”. Toggle that on, and restart your PC. This will tell Windows to use your GPU to boost power, so you should now notice that apps and games run more smoothly. Even if it’s not noticeable, it’s almost certainly having an effect behind the scenes!

Turn on G-Sync
If you’re lucky enough to have a G-Sync monitor, then you need to make sure this setting is switched on, both on the monitor itself and within your graphics software. G-Sync is an Nvidia protocol that syncs up your game’s frames per second with your monitor’s refresh rate, virtually eliminating screen tearing and making games look much smoother. It stands to reason that you’ll want to switch this on, which you can do through your monitor’s settings menu and through the Nvidia Control Panel if you’ve got a Geforce card.
Make sure Windows Update isn’t getting in the way
Windows has a built-in update process whereby it will automatically download updates and schedule restarts when it’s time to implement those updates. Turning this feature off should be one of your first ports of call when it comes to optimising your PC for gaming, because a restart could hit you during a particularly tense moment when you’re gaming, especially if you’re playing online. Open up Settings and navigate to Windows Update (assuming you’re on Windows 11). From there, you can set active hours during which Windows won’t restart your PC, and you can stop restart notifications appearing and getting in the way of gaming as well.

